Tuesday, June 11, 2013

Ready to ship!

I have finally had the time to sort out the brake light - the switches were working well, but the cable connectors where touching so a piece of shrink wrap did the trick. Also I added a rubber grommet to the engine carburetor protection plate to prevent it from chipping the paint of the frame, like this: 


Here she is, basking in morning sunshine, ready to be taken apart and placed into boxes, Justin, start warming those wrenches, it's coming!


Saturday, May 4, 2013

She's so pretty, oh so pretty!

I need to sort out the brake light and find a reflector and we'll call it done

Friday, May 3, 2013

You can start to get excited... Now..

Well, all the cables are set, the engine has been added to the mix, the tank is filled, it starts to look like a Solex:


I am still missing the left side reflector - still looking for one!


Et voila:


Happy Friday Justin!

Saturday, April 27, 2013

Cycle Blue(s)

For the fun, a quick video trying the bike now that it has a chain and some tires. The brakes were not connected, so I was trying not to fall while holding my phone and filming!


Two Tires to Go

Now that the engine has been running well while doing a good break-in, I am trying to finish the bike. I took some time last night to clean the chain which was extremely crusty. A night in a bath of WD40 and a good brushing today with some compressed air finished to get it ready.

Of course you have to take the frame apart to install the chain - nothing has to be simple :)

Finally to finish the day, I remove the worn out and cracked tires


and installed some brand new old stock Michelin ribbed tires with a pair of matching 1970 Michelin tubes


Looks better now, those even still have the factory silica cover:


Tuesday, April 9, 2013

Exhausted!

The exhaust needed to be cleaned, I heated it and got most of the dust out with compressed air. I then burned the paint with a torch sandblasted the exhaust with sand this time, glass beads would have not done anything to it.


I will paint it with black high temperature paint tonight

I discovered the S of the Solex logo stamped in the silencer part, always neat:


Monday, April 8, 2013

Tired already!

Now that the engine is running nicely, I will replace the tires for new ones and put the engine on the frame, link all the cables and the wire harness - a couple of hours of work there to make sure all is correct.
I also realized yesterday that I did not take care of cleaning the chain and re-oiling it and the exhaust which will need some TLC to burn out all the gunk in it, sanded and repainted.. we're getting there Sir!

Pictures of the complete beast coming up!


Sunday, April 7, 2013

Pet-Pet-Pet second edition!

Well, it starts! 

It's a little awkward to take a video as i need both hands


Here is another one


Saturday, April 6, 2013

Pet-Pet-Pet-Pet

It took a while, but the engine started tonight. I was puzzled because the last few days, everything seemed fine, but the damn thing would not start.

I checked everything several times over, and over and over again, but nothing, not even the smallest noise. The spark plug was producing a nice blue spark, and the tic-tic it should when turning the fly wheel. The gas would go through the lines and the pump in the cylinder. The compression was good. I just had a funny feeling.

After taking the engine apart a few times to inspect everything, I finally found that the stator plate was ever slightly bent (most likely a good fall from the previous owner or a bad move when they tried to fix the engine). I had seen it when refurbishing the engine but did not think anything of it when cleaning and putting it back together.

It appears this made a small but enough of a hard point in the engine when turning over and would prevent the engine from firing completely. I had an other stator plate, so I took everything apart (again) and back together (again). No more hard point!

Tomorrow I will post a video of the engine running or being broken in rather. Then will be the time to try the engine on (a) the frame to ensure the clutch is working properly

Now a good night of sleep!

Sunday, March 31, 2013

But will it start?

Done!

A brand new white gaz tank and fuel filter are installed, the flywheel is back in place and the cover is on. I was even lucky enough to find a coveted engine cover a couple of months ago, so the bike is just about complete.


But will it start?

Next week, I will fuel it and set the points, and attempt to start it, and brake it in a bit, if the gods of the gas engine are with me!

Thursday, March 28, 2013

Pumped up!

We're nearing the end of completing the engine rebuild. One of the last main component is the fuel pump that needed a cleaning. In the pumps are two glass beads that allow fuel to get in and get out. These need to be free and move at will. When cleaning the pump, the top one is easy to take out, the bottom one is nestled between two plastic 'seat'.

I could not clean the bottom one without disassembling the pump (top left) and I do not have replacements seats. So I looked through my inventory of parts and found another pump, cleaned it and it was ready to go. I changed the membrane and blasted screws.


Not pictures, the fuels lines were cleaned and mounted back at the same time as the pump.

Next will go a new gas tank and fuel filter, the fly wheel and a new fly wheel cover.

Wednesday, March 27, 2013

Carb your enthusiasm!

Next step in the engine rebuild, cylinder head and head gasket, decompressor, carburetor...

First a new head gasket and exhaust manifold gasket


 Cylinder Head bolted on with the new Spark Plug, a new spark plug wire..


And here is the Carb!


Next, the fuel lines and pump will be cleaned and reinstalled, and we'll be essentially done with the engine..

Monday, March 25, 2013

Something Old, Something New...

Something Borrowed and Something Blue! The engine continues to be back together. The front fender in now in, a new spark plug wire and the stator is back. Next is the engine top pieces, Cylinder head and gaskets, the carb.. Pics to come!


Friday, March 22, 2013

Putting the puzzle back together

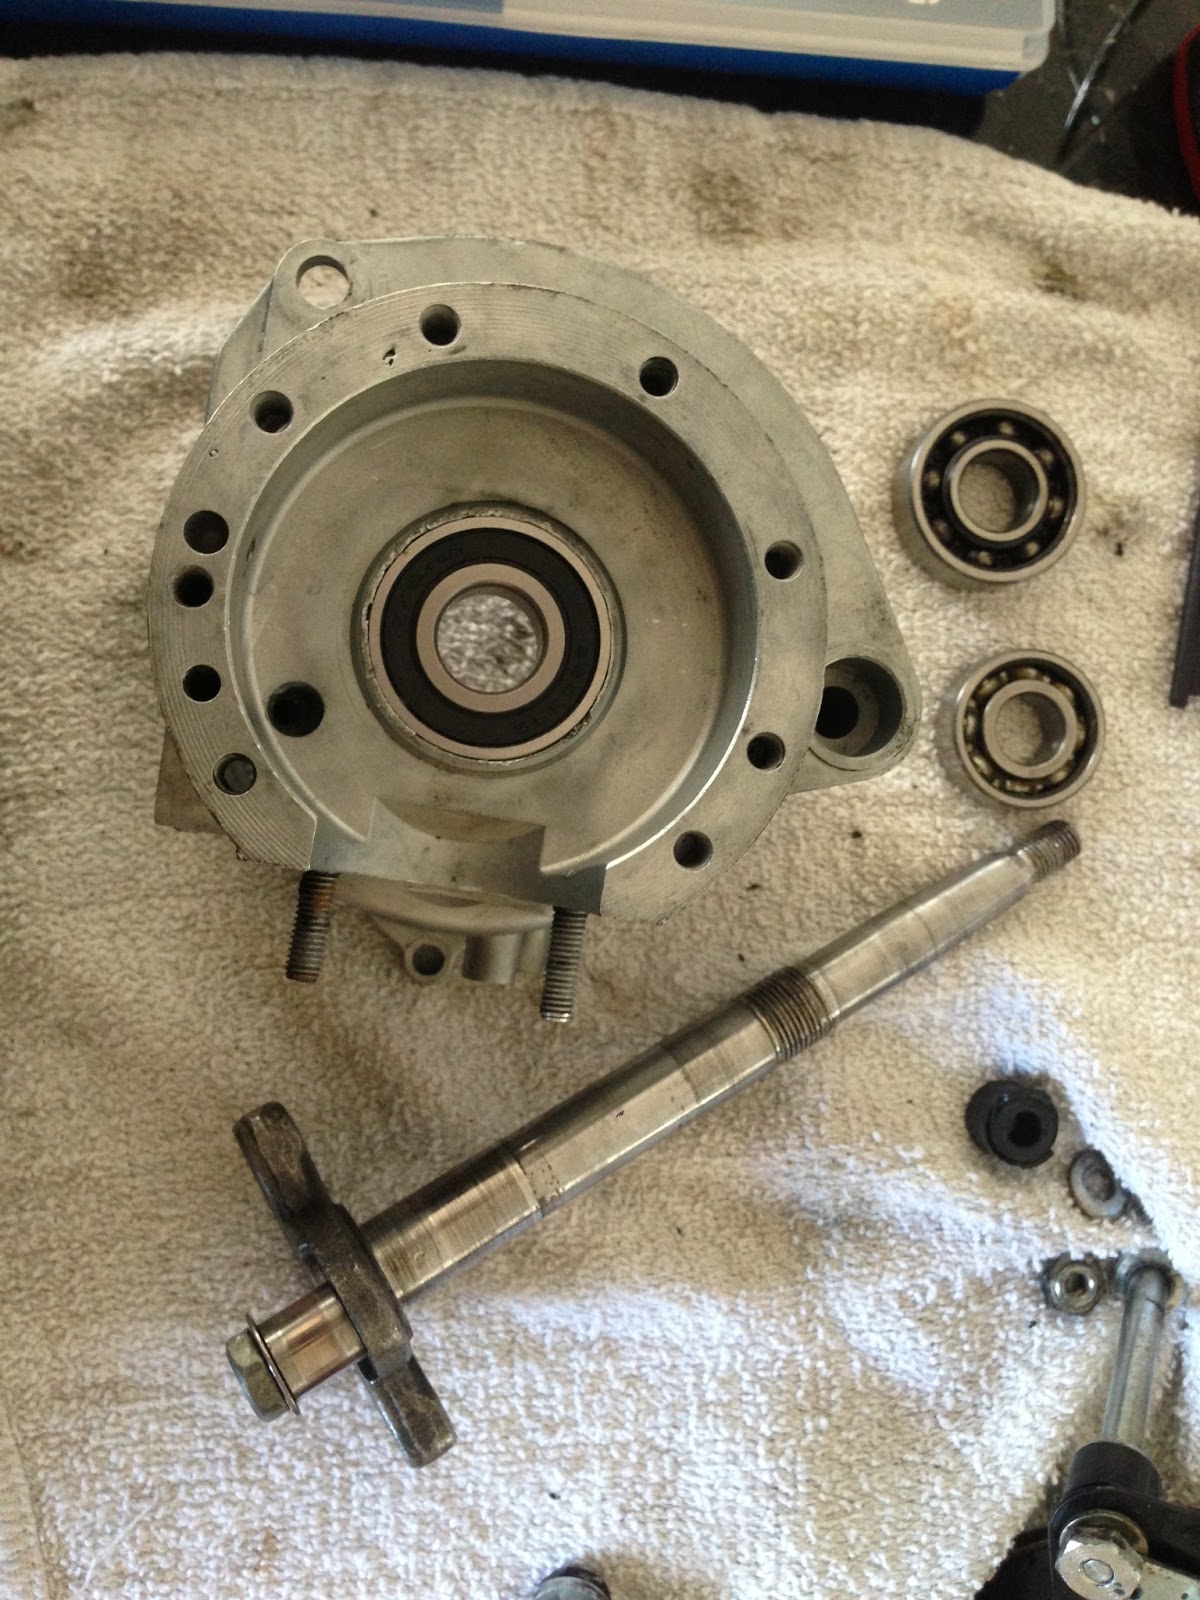
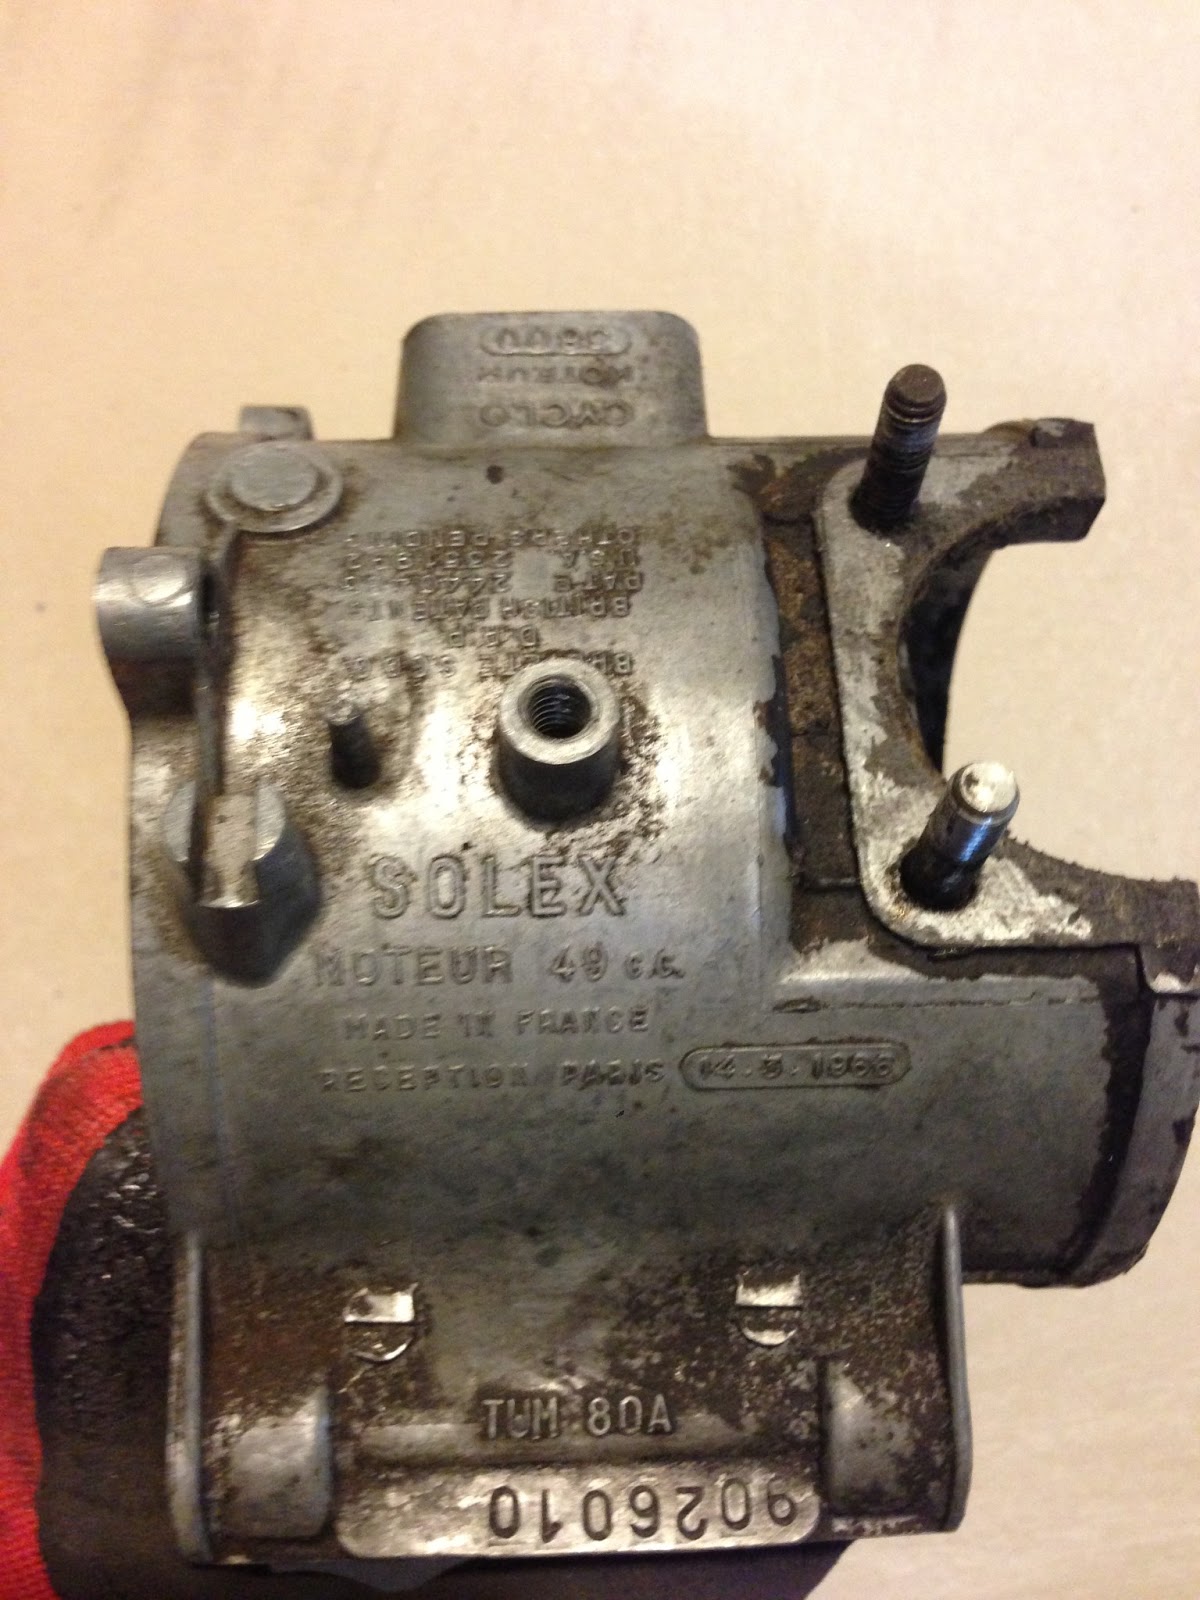
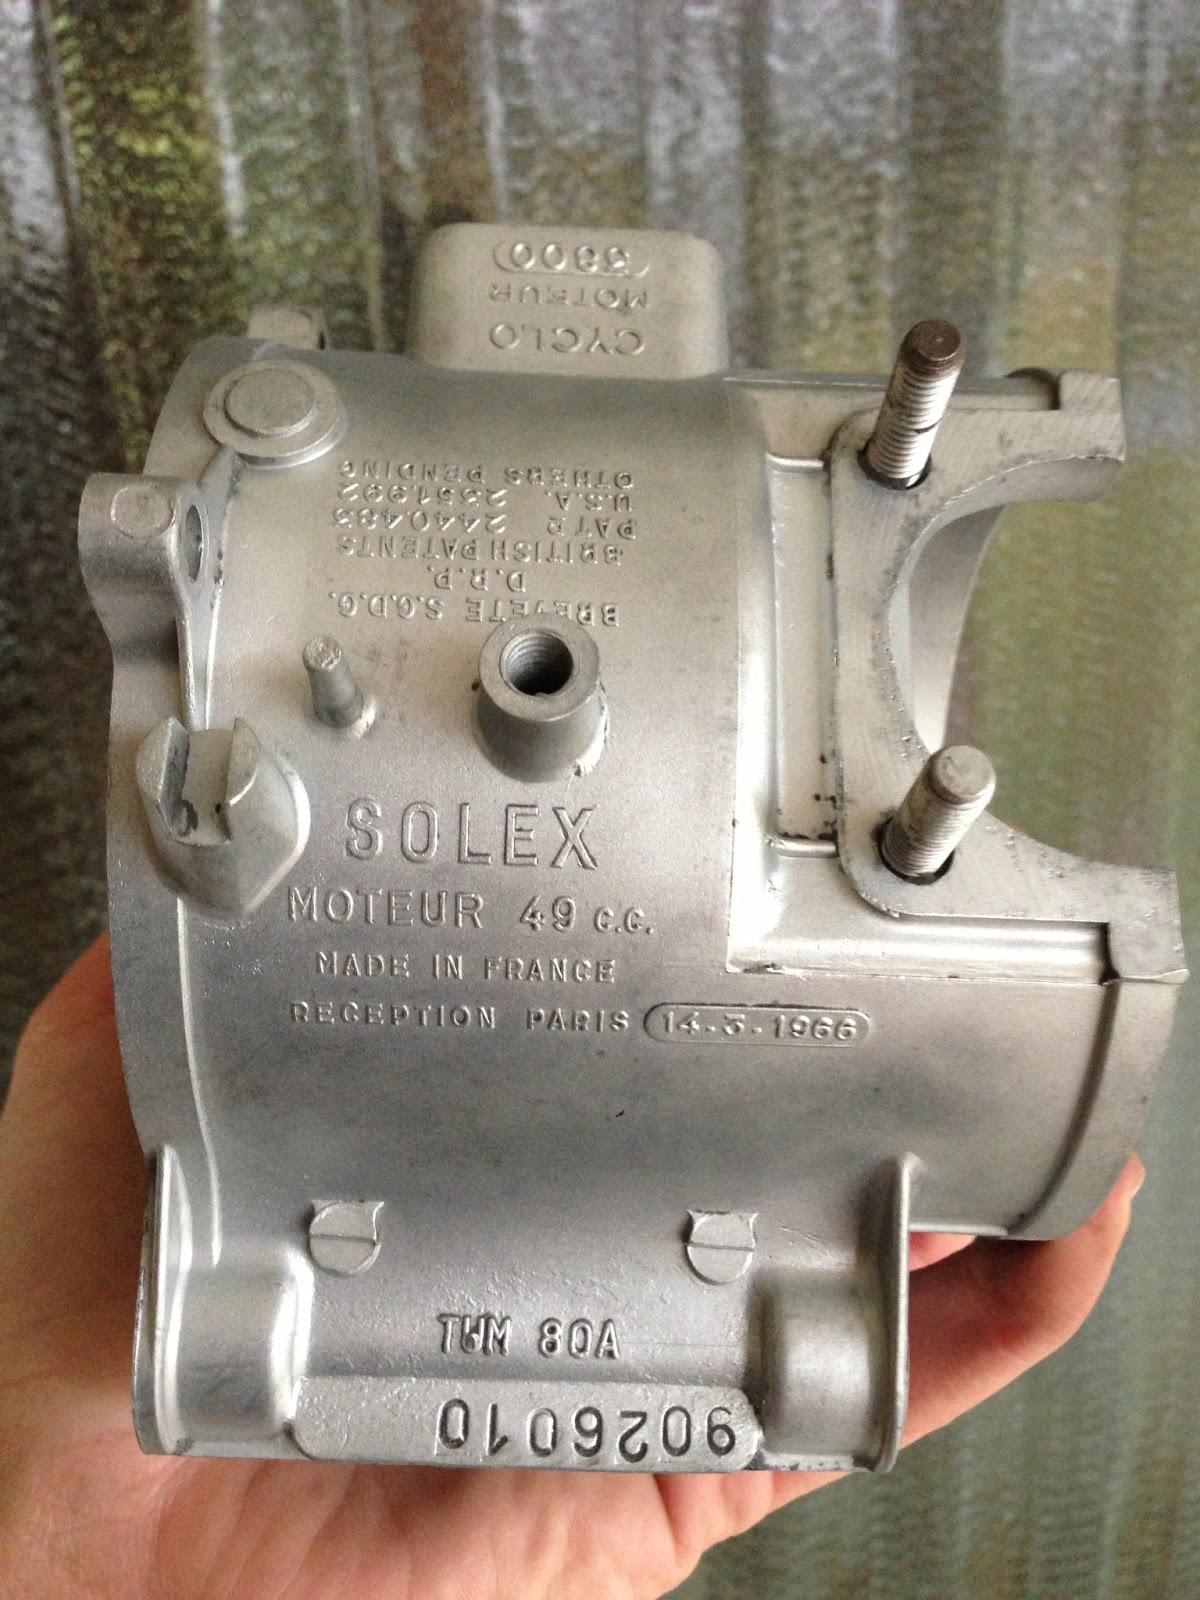
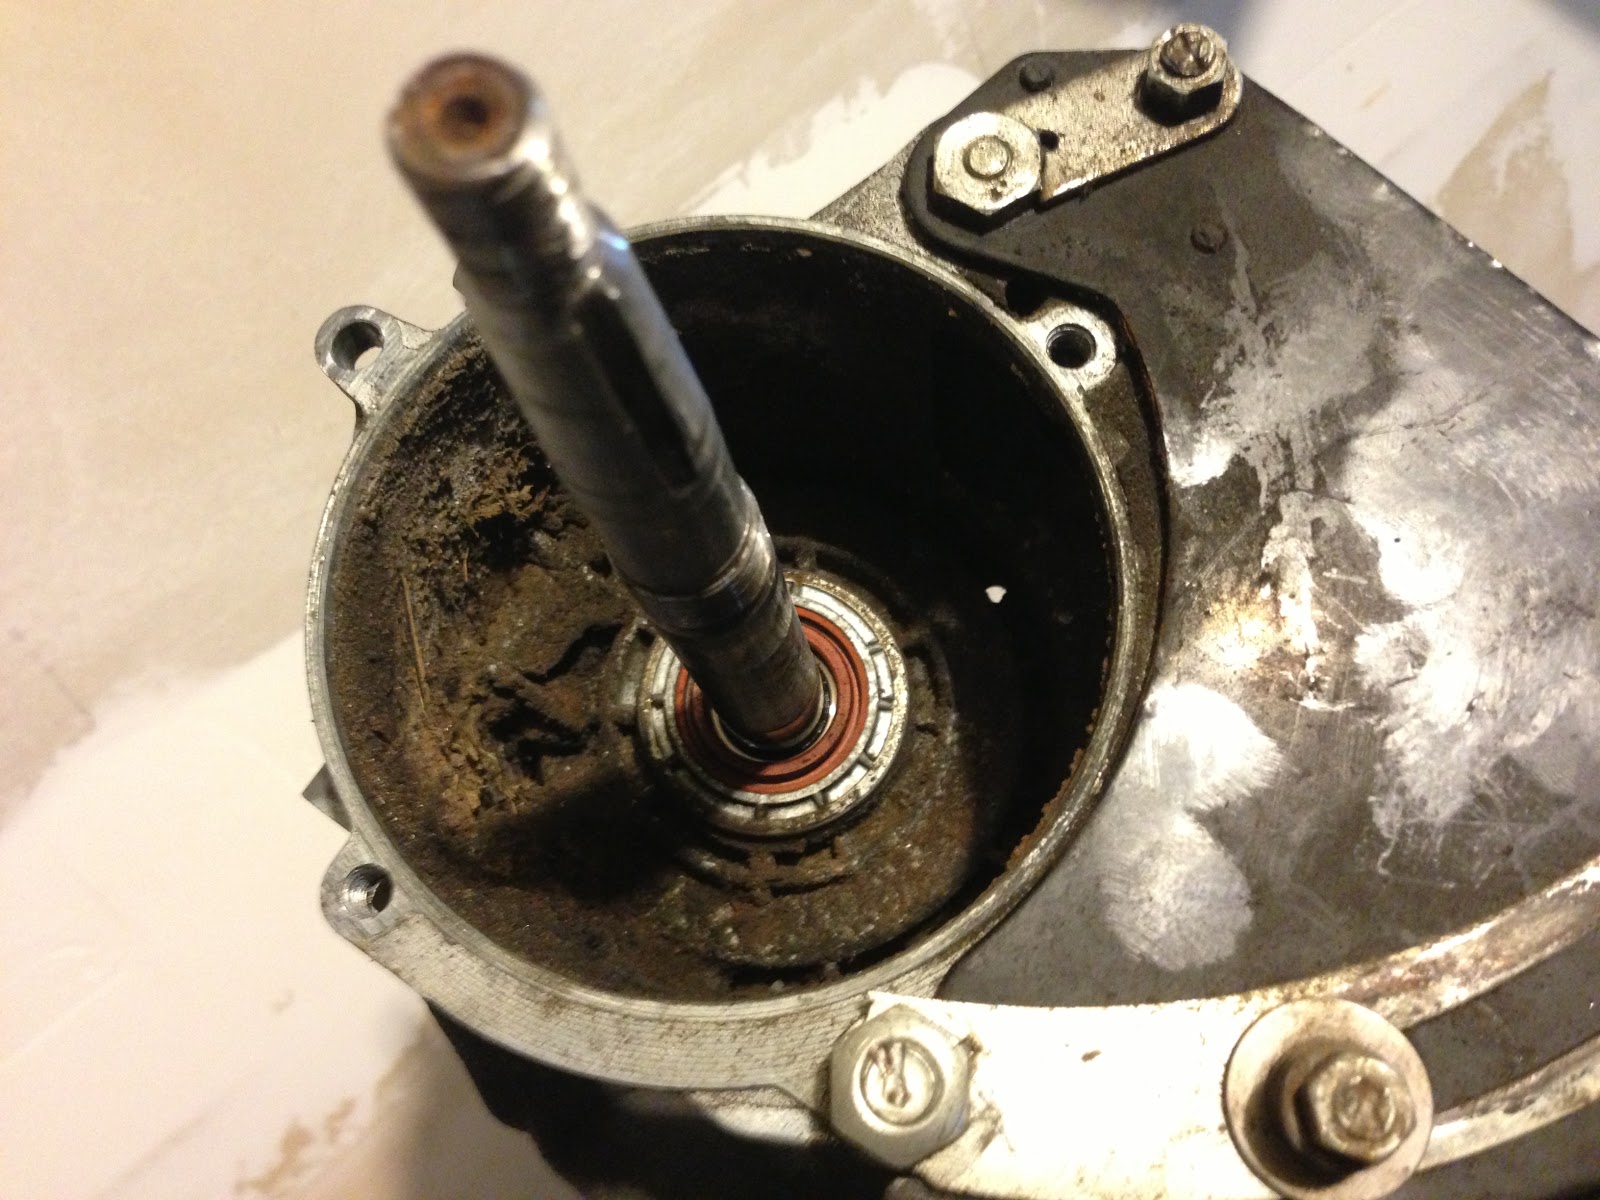
Now that all the parts are clean, it is time to put that engine back together, first I heated the block and using a new bearing, installed the bearing and sealed it. The new bearing is a double-sealed so it won't need lubrication unlike the old one on this picture


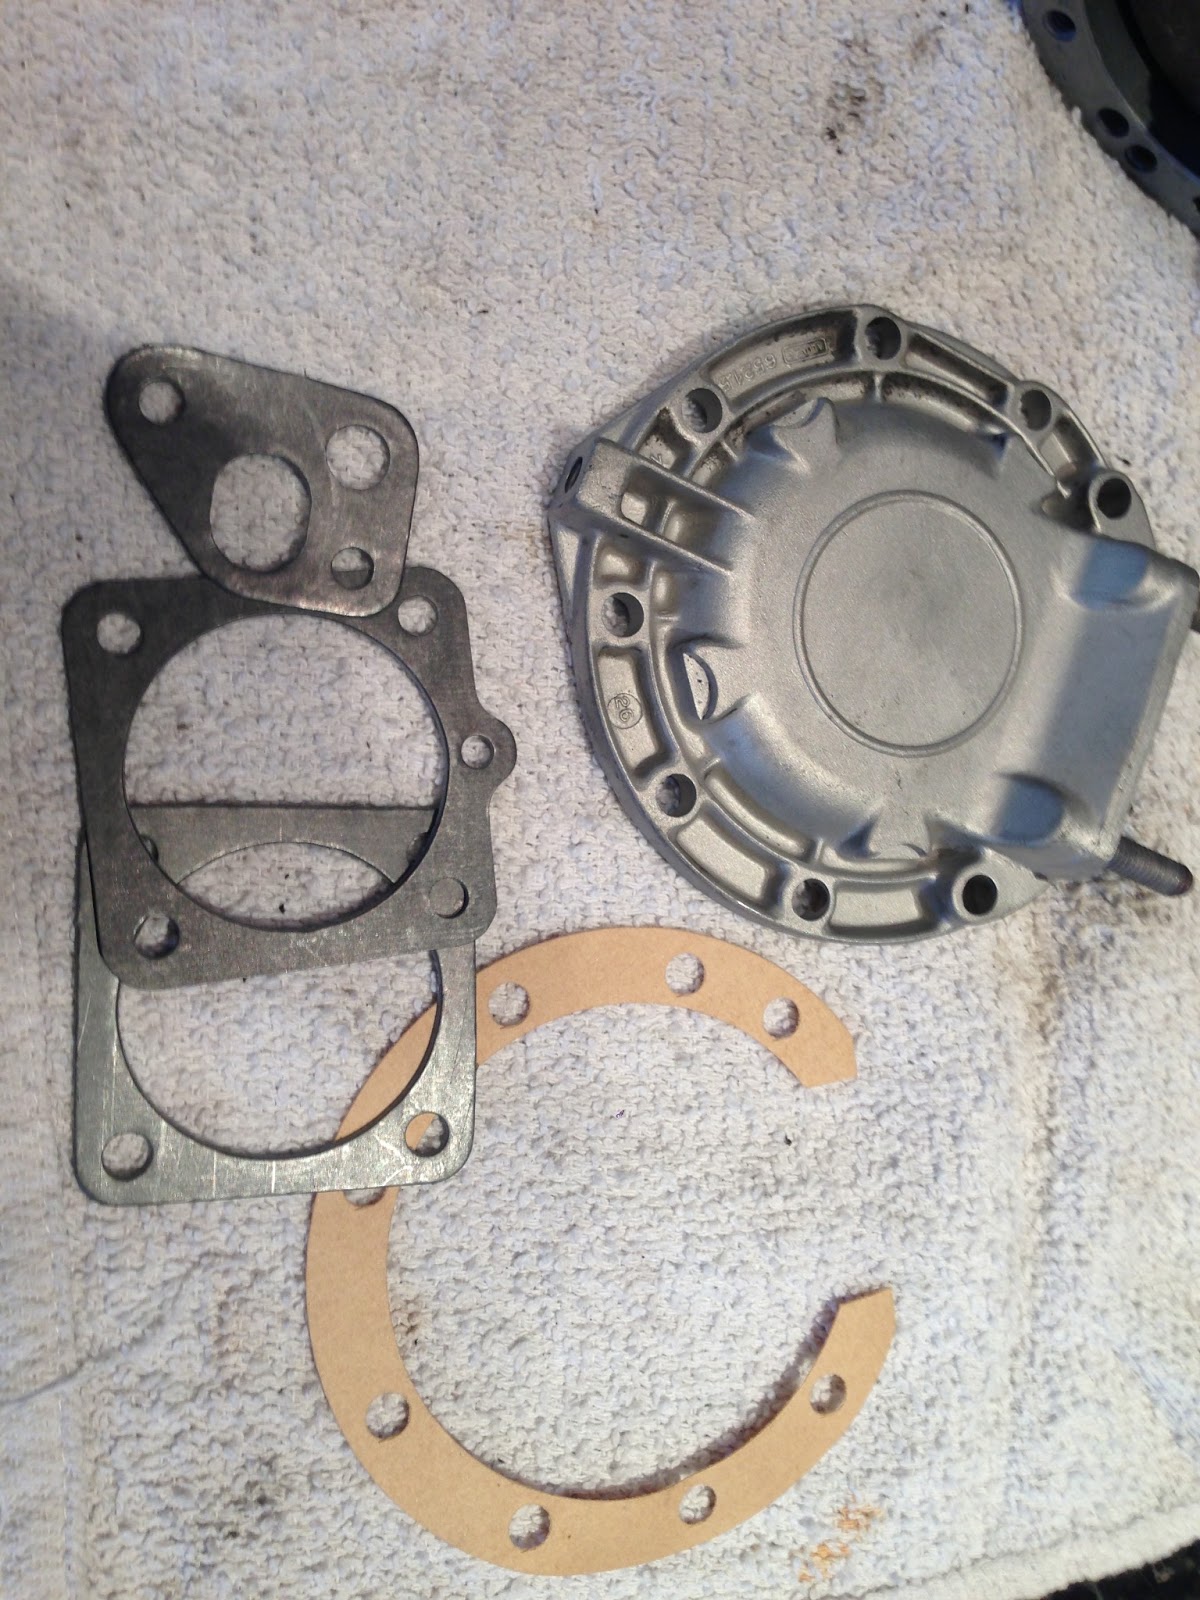
New set of gaskets will find their way on the engine block


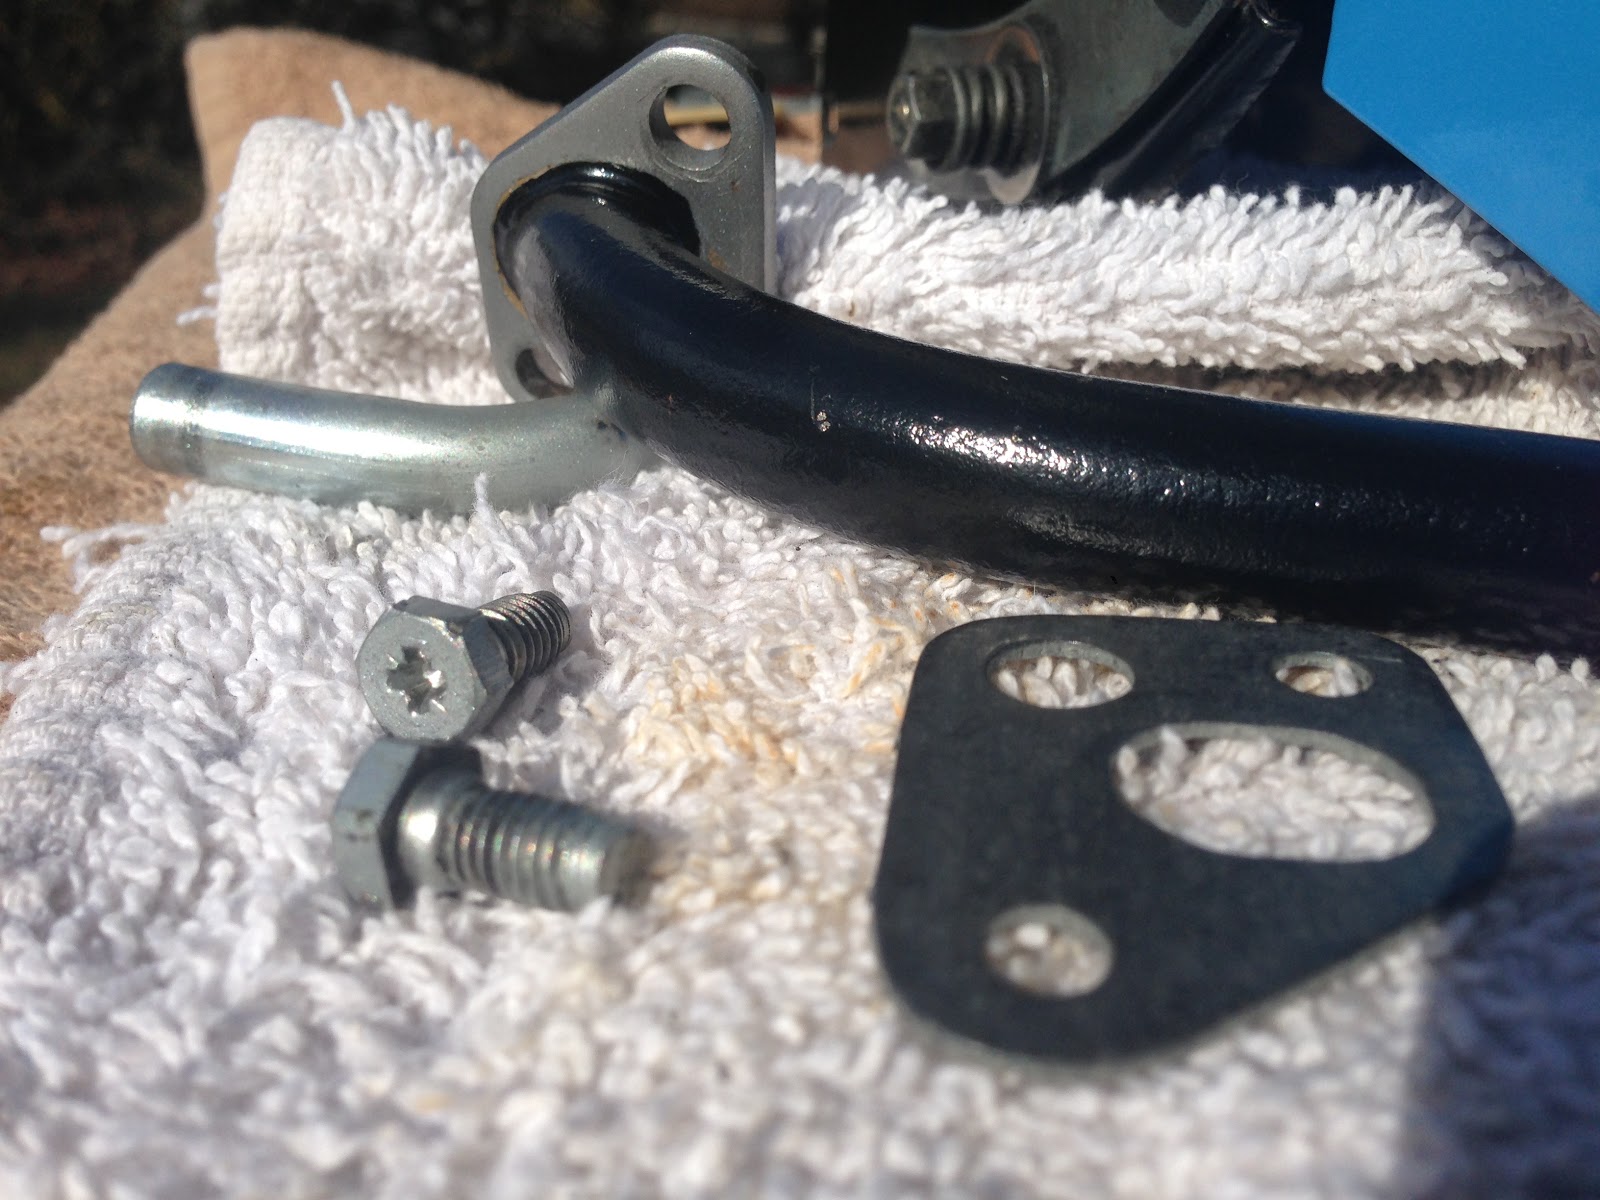
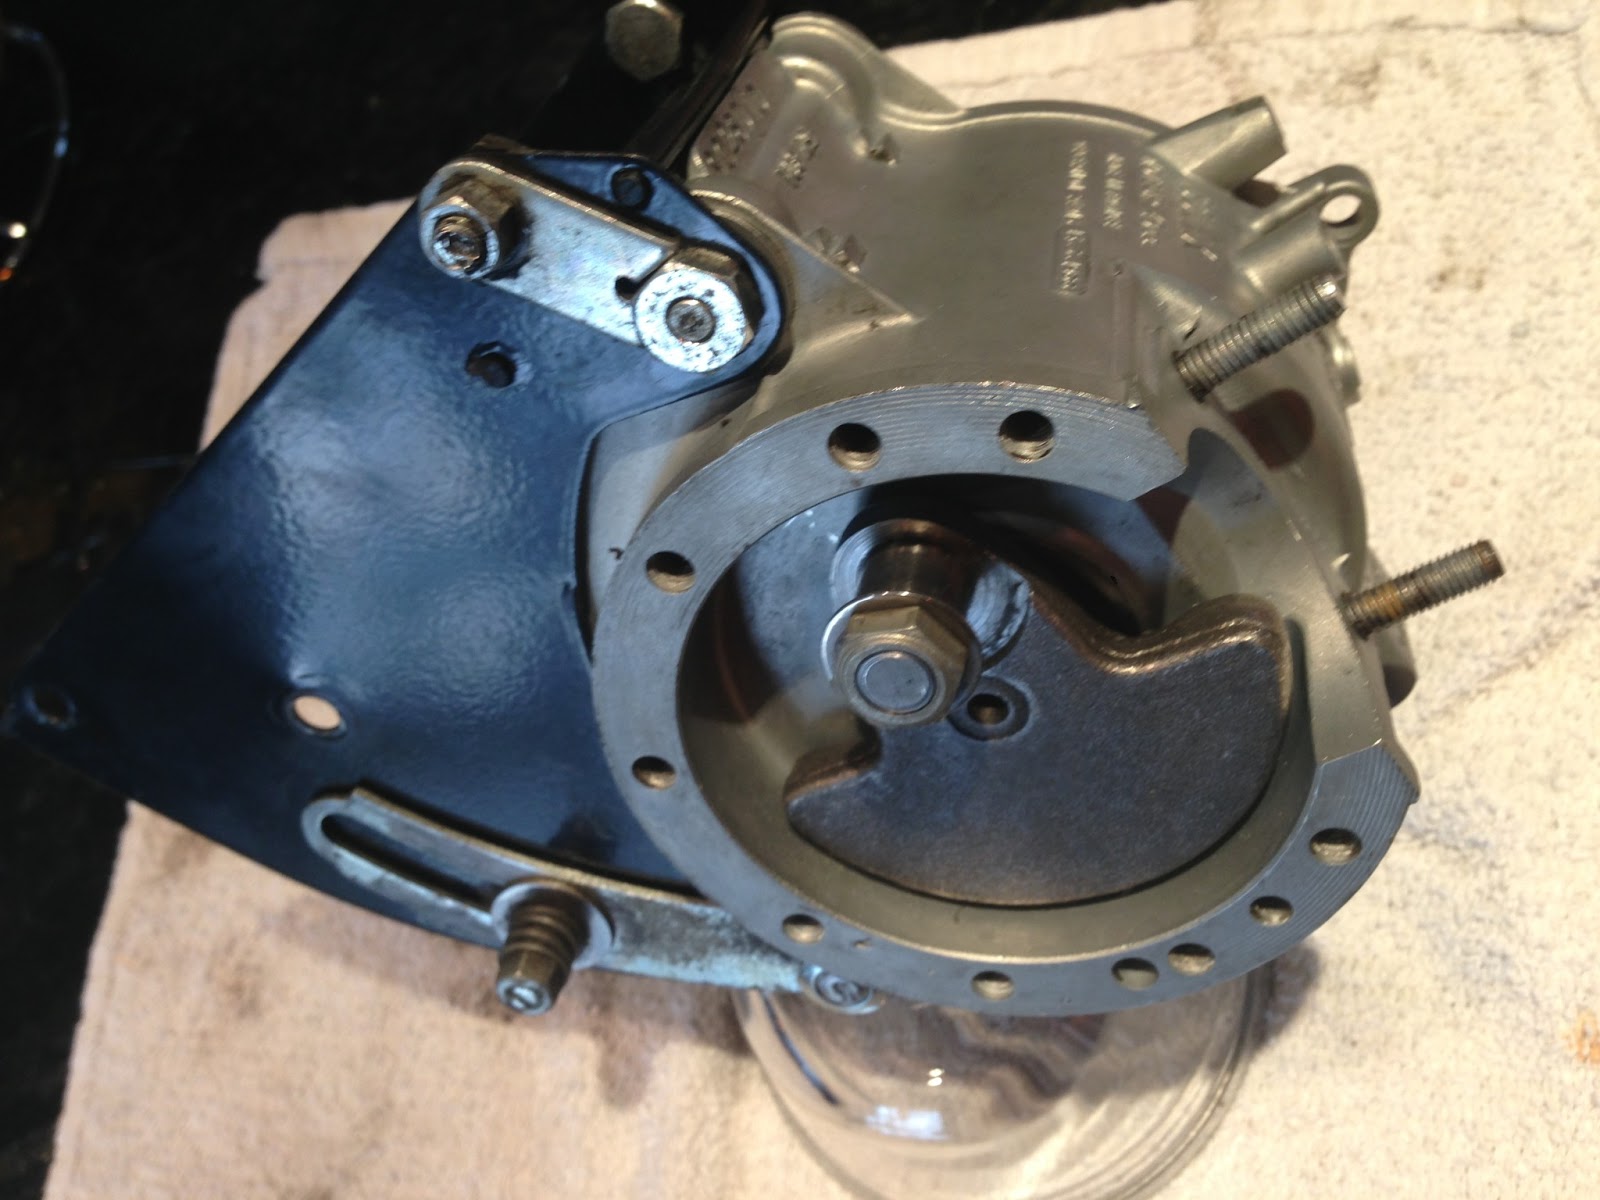
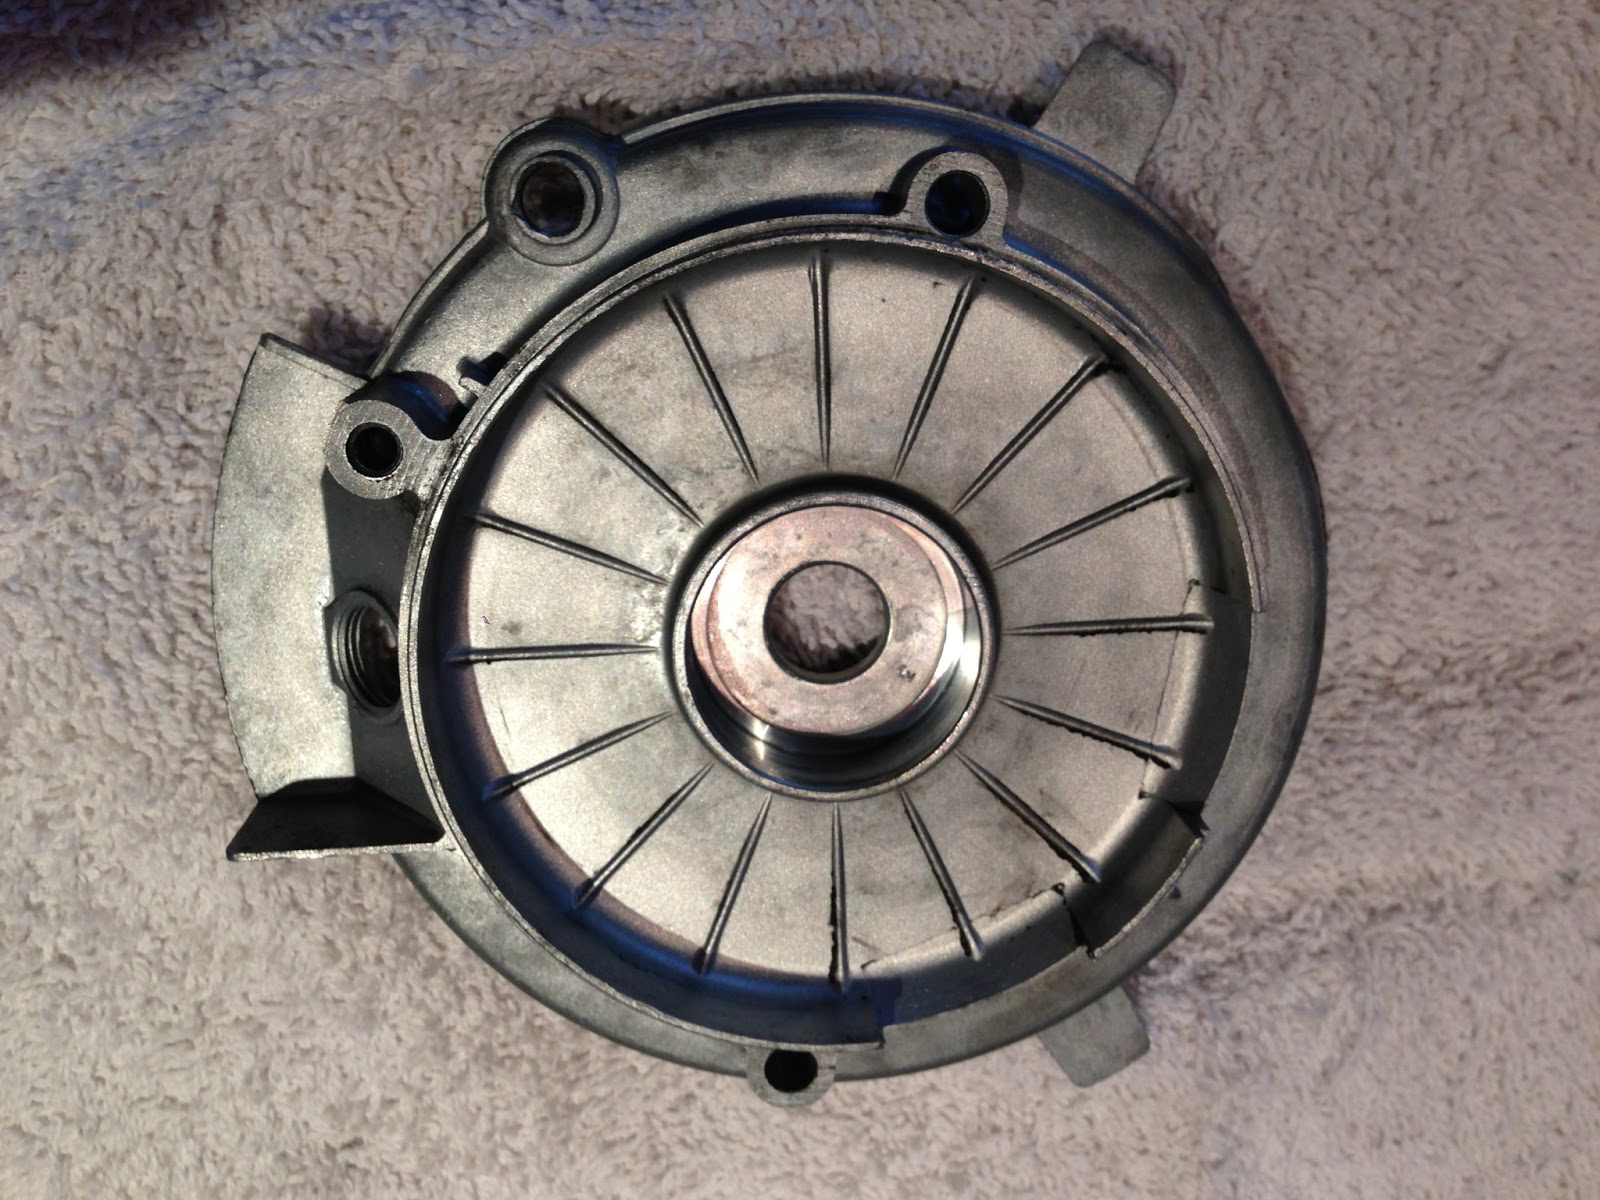
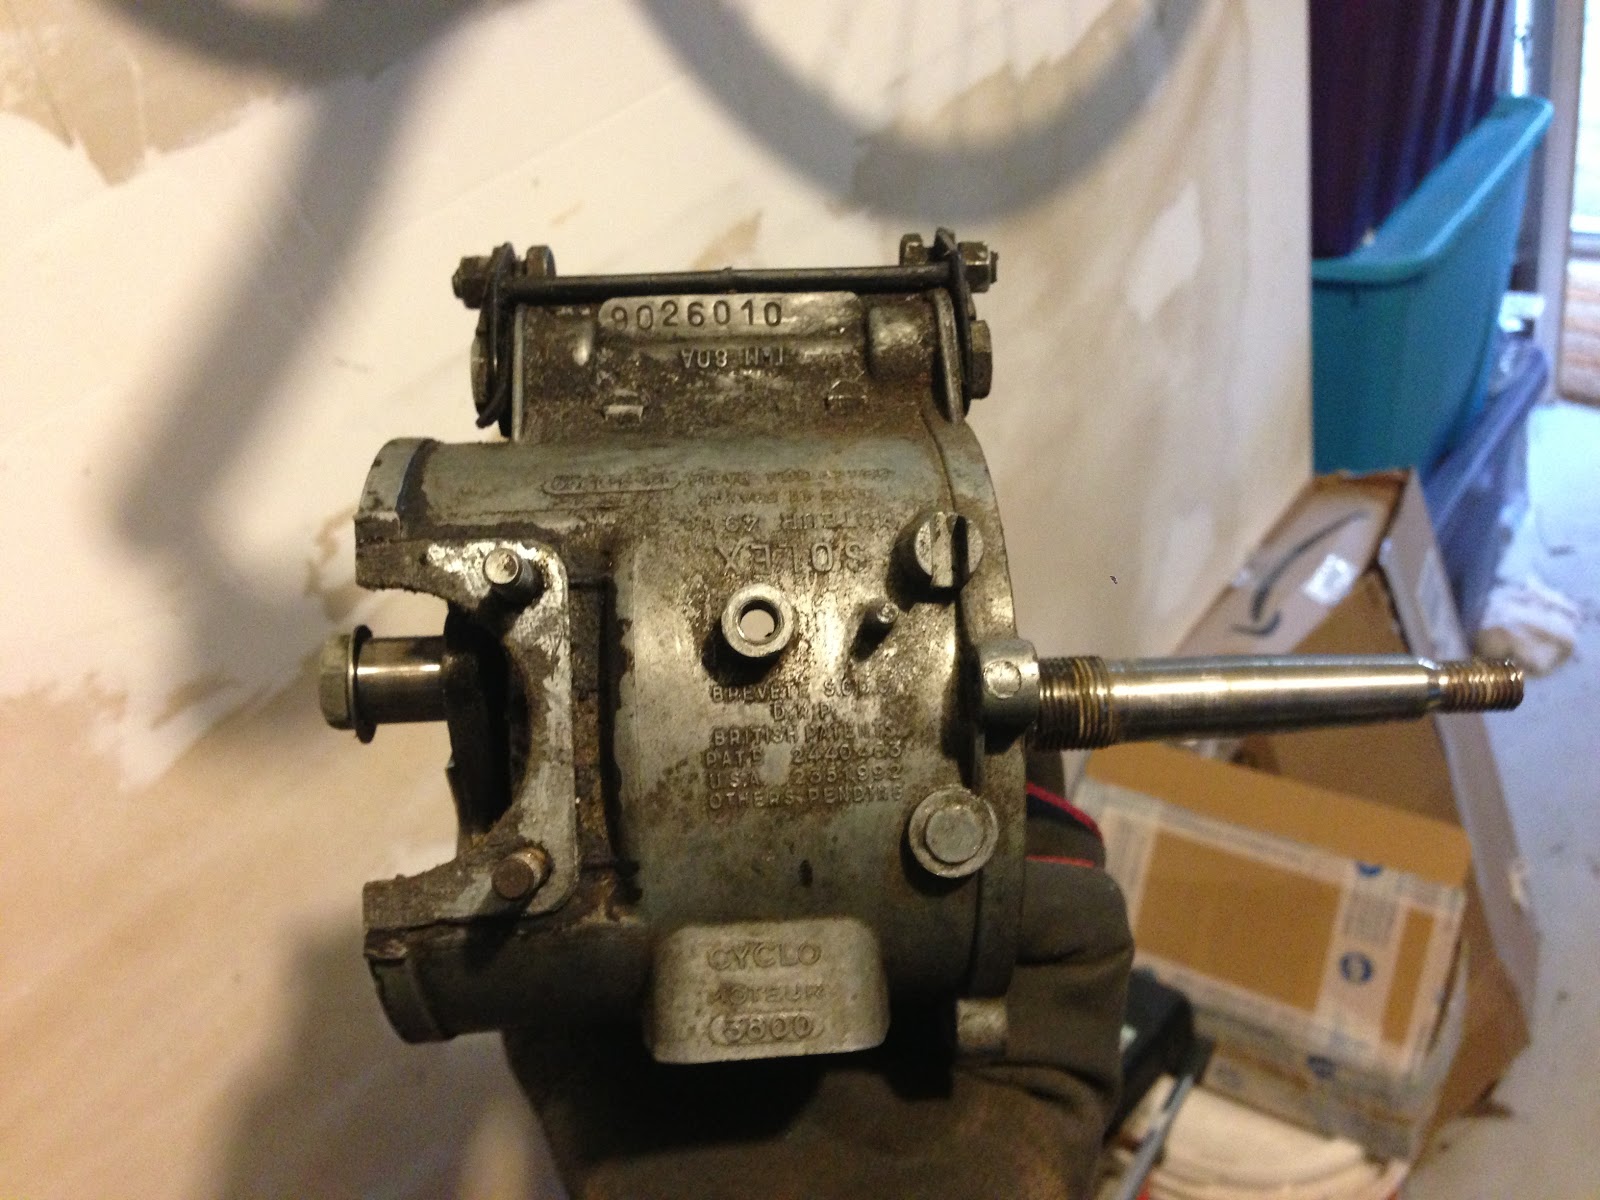
The block gets the crank shaft and side plates that attach the engine to the bike frame:

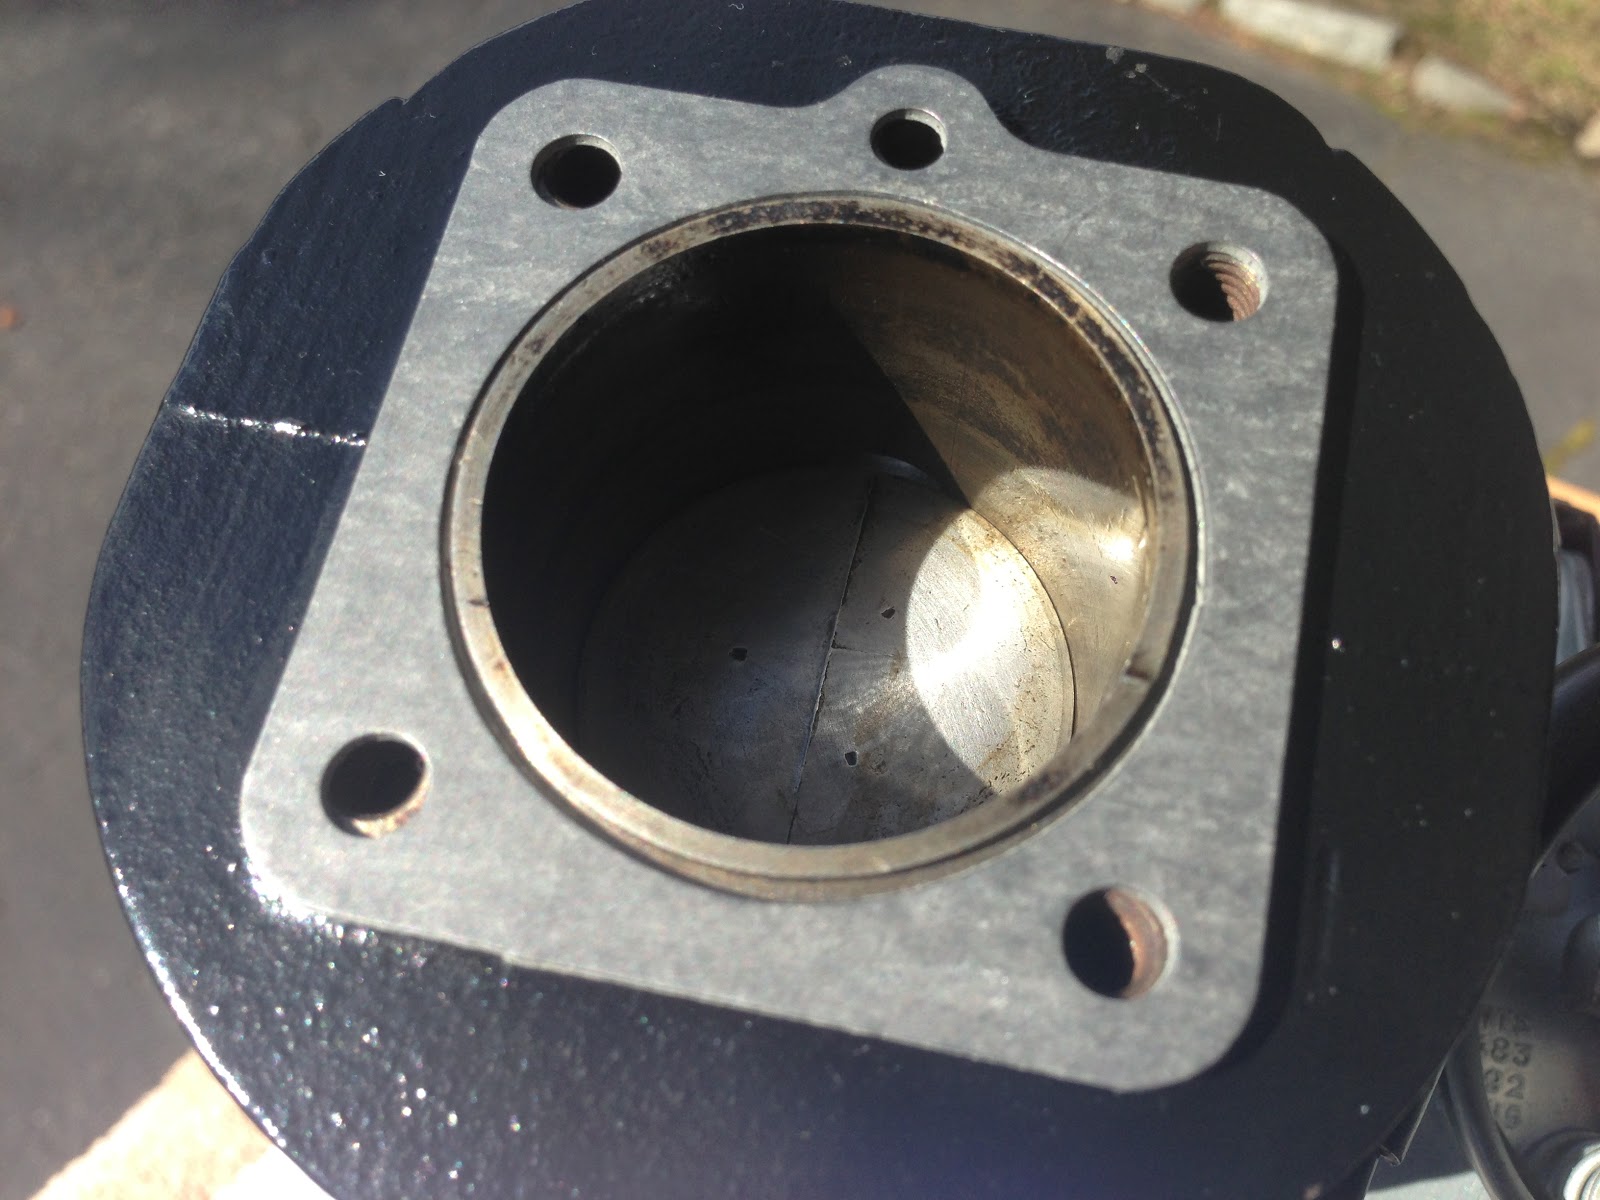
Piston is installed and the cylinder for fitting before closing the case with the oiled gasket


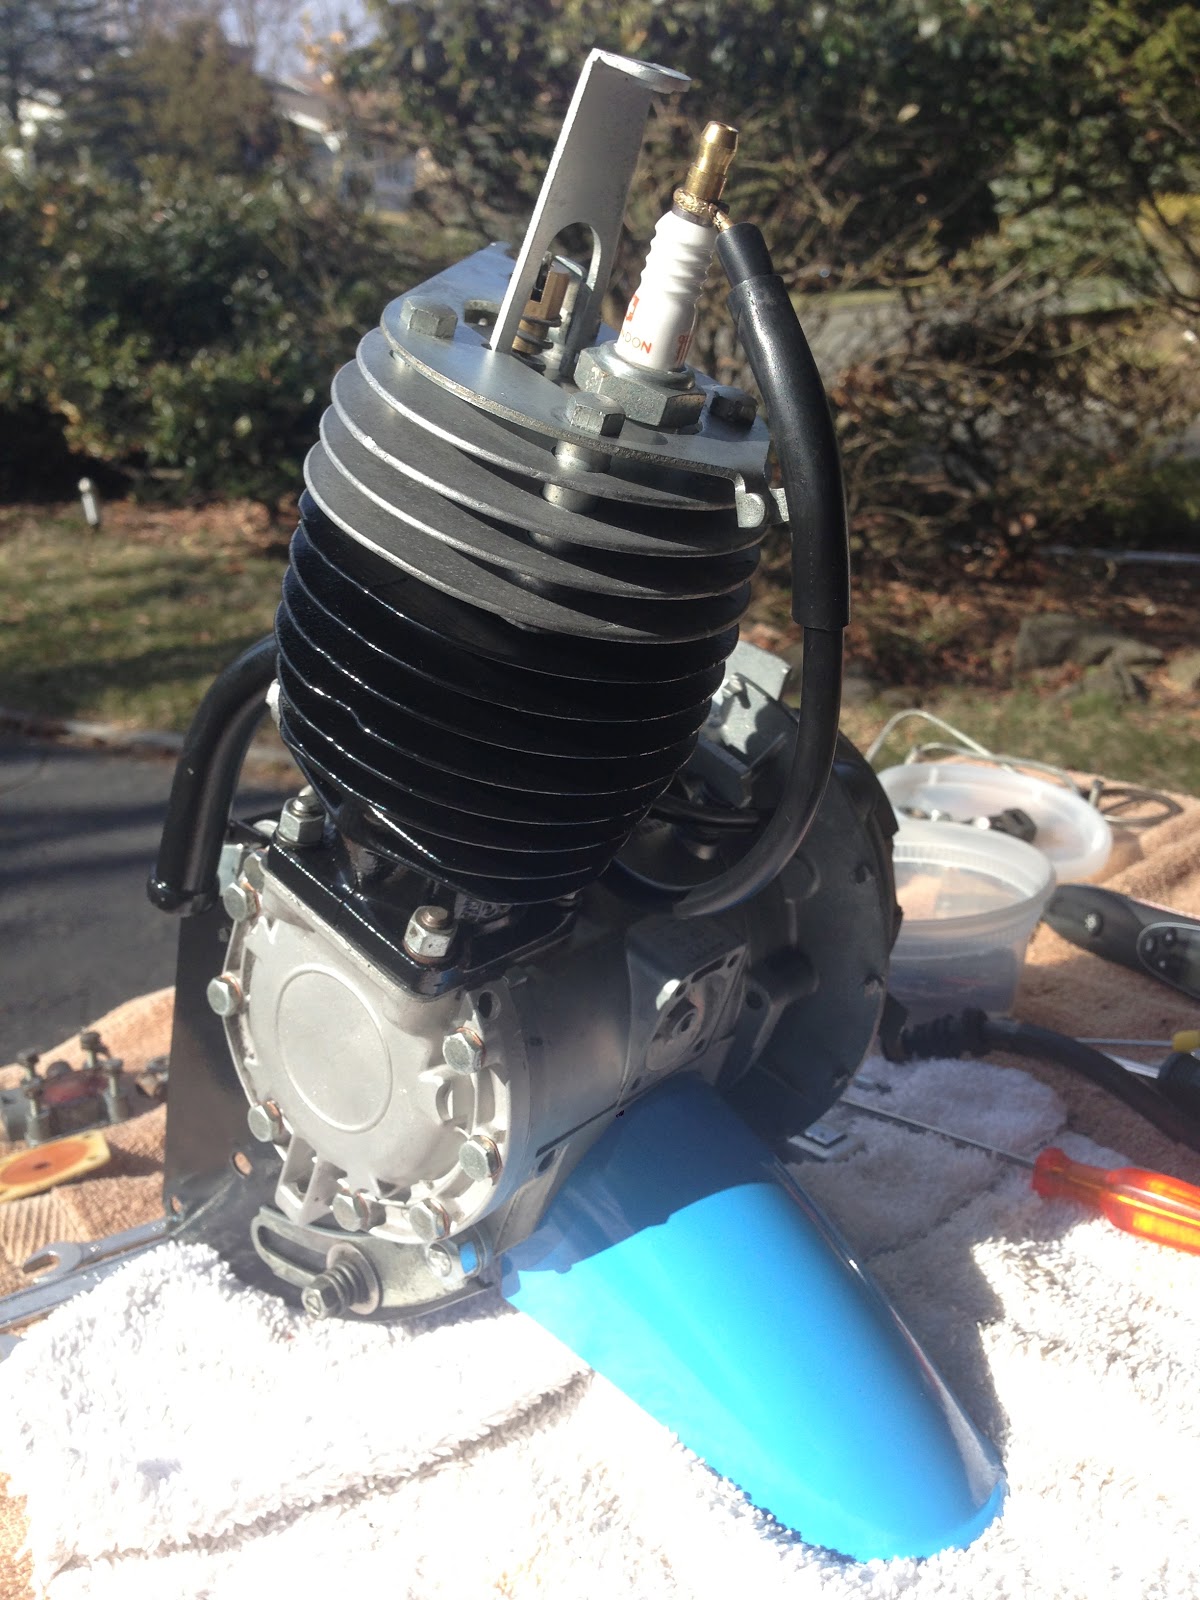
Here it is with the engine top end and gaskets secured


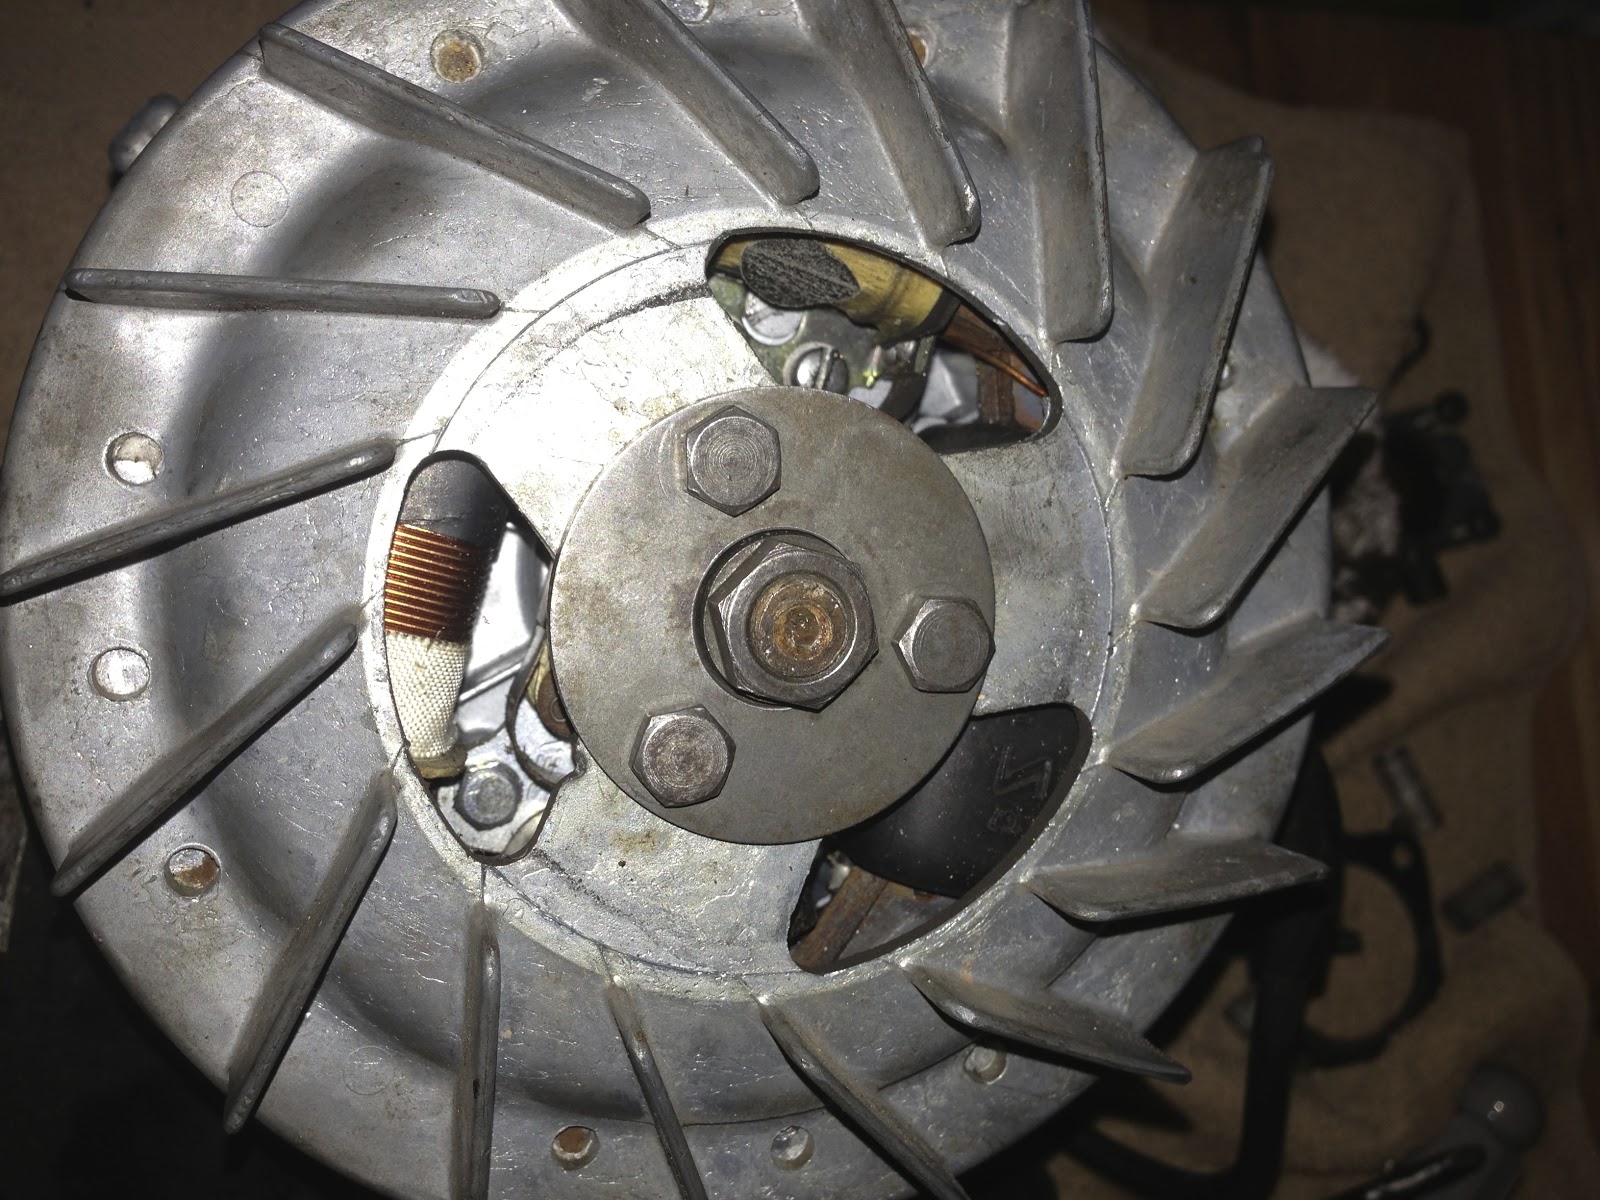
View from the other side with the rolled installed, the long screw is preventing the crank from turning when tightening the bolts securing the roller and the clutch


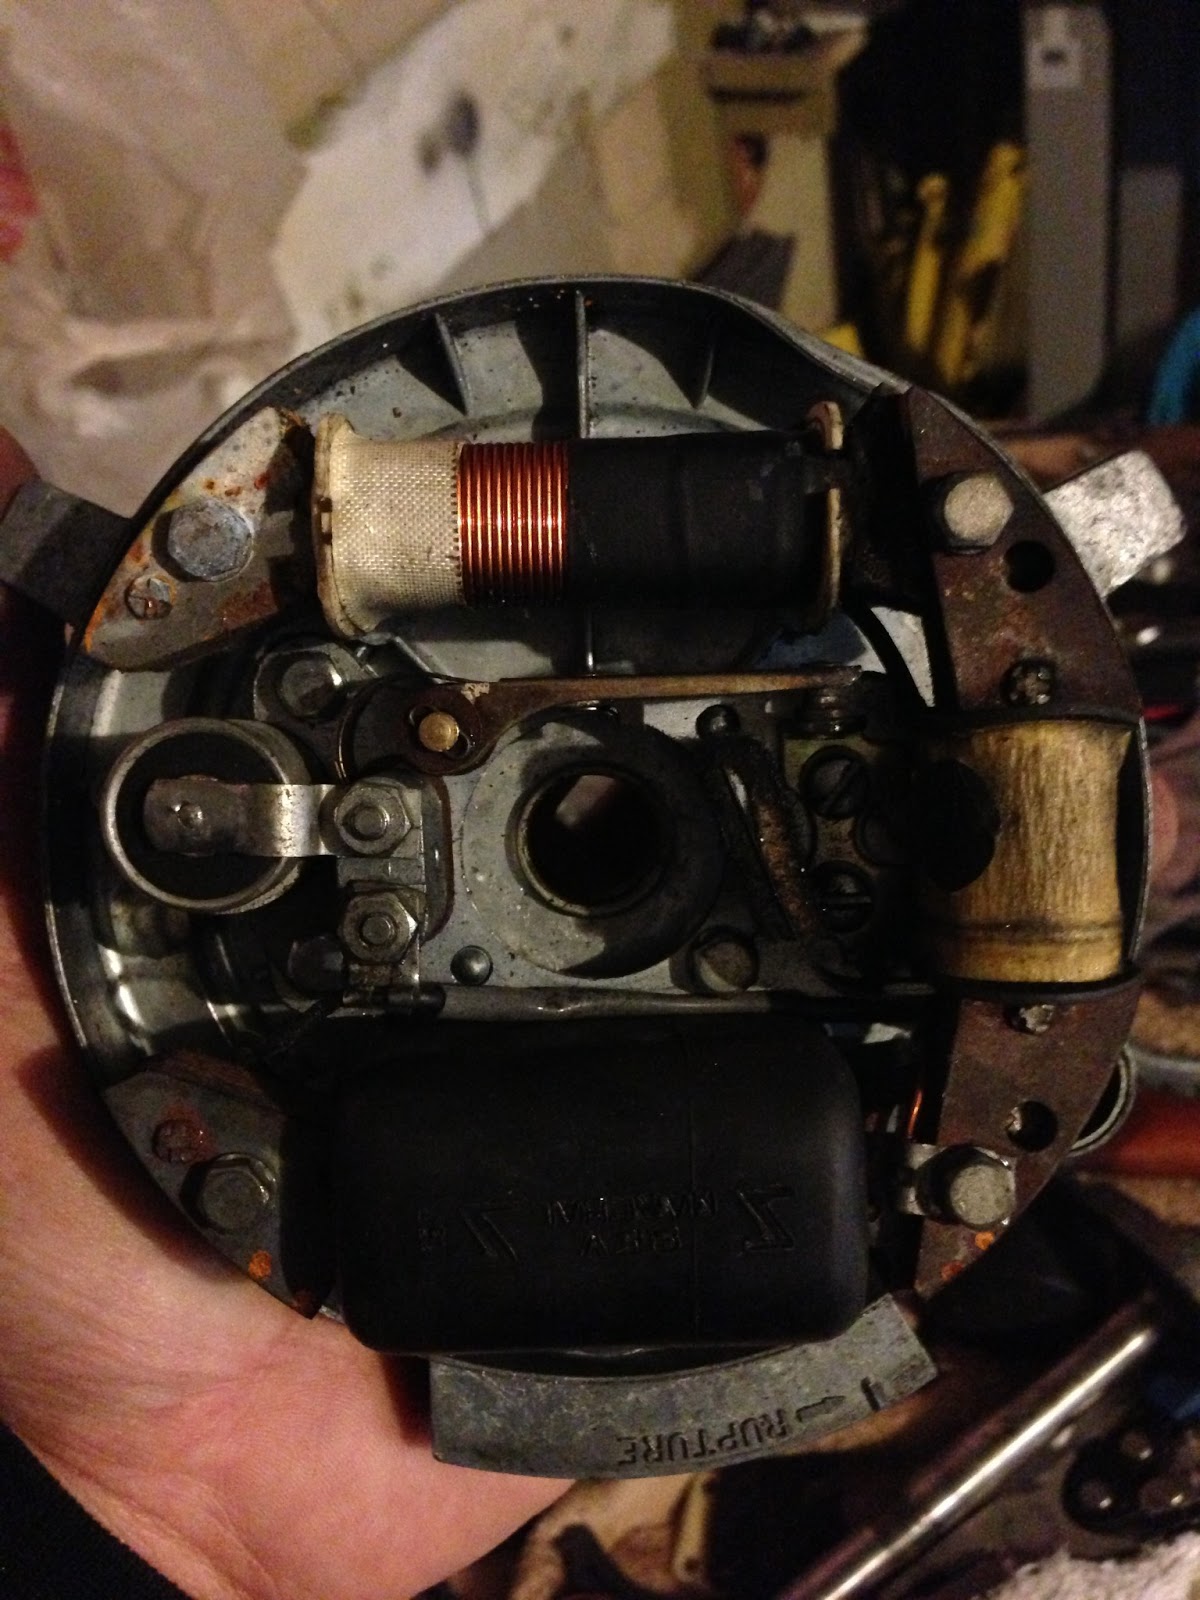
And here is the clutch


Thursday, March 21, 2013

Take me to the cleaner!

Glass beading has been my main occupation lately:

The engine block, Before and After:


The Stator, Before and After


Here is the other side before and after, everything was taken out, cleaned, checked and back on the Stator, just missing is the Spark Plug wire that needs to be changed with some new cable


Tuesday, March 12, 2013

Engine down!

The engine works continue, now that the top part of the engine is clean and ready to be reassembled. 

The lower part is next: 
- Remove the fly wheel
- Remove the stator
- Remove the clutch
- Remove the crank shaft and bearings
- Clean all
- Replace the bearing,
- Reassemble everything

This is what we started with:


The first step is to take the flywheel out, you need a puller to do this since it is pressure set on the crank shaft and screwed. 


Once this is out, it's the turn of the Stator and Points


Then comes the clutch and roller


This is what the engine block looks like before pulling the crank shaft


And it's out


Time for clean up!